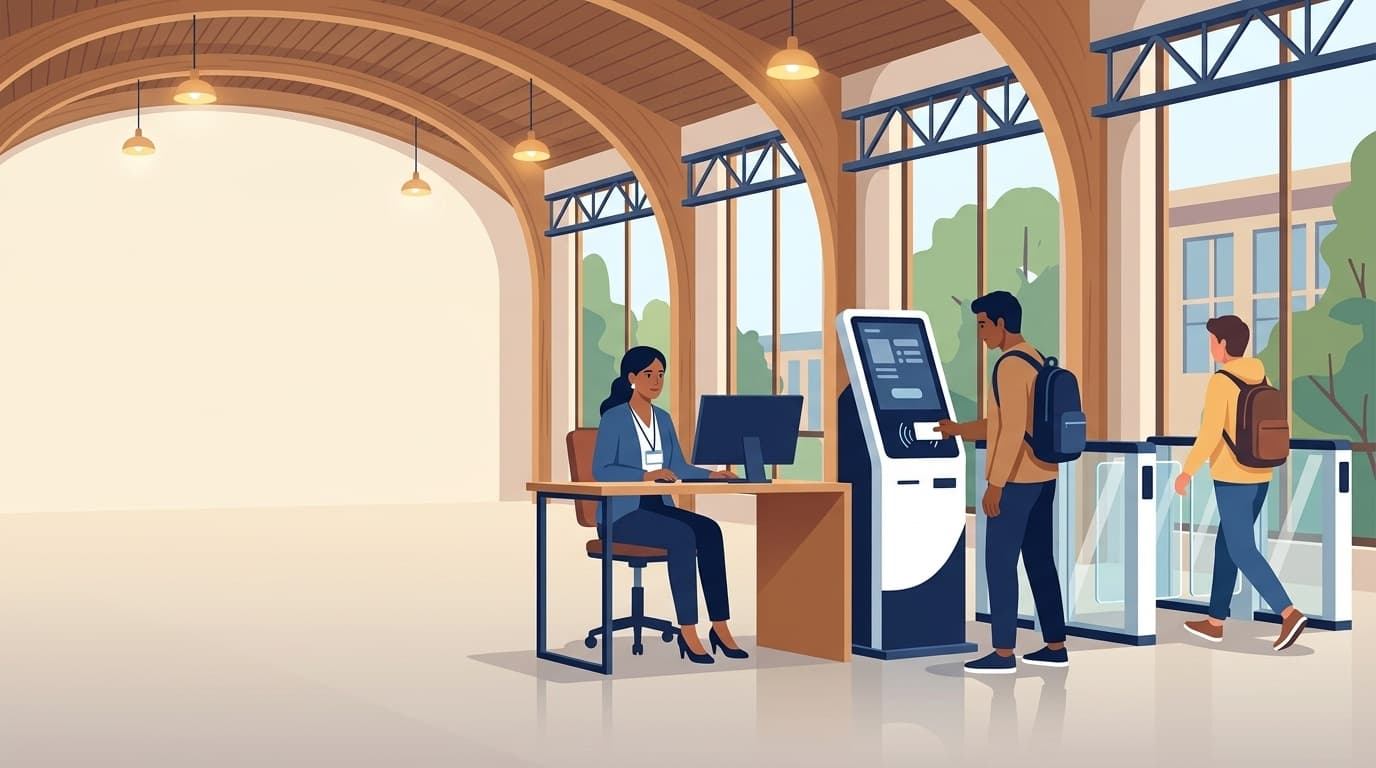
Library User In-Out System — Complete Guide
A simple step-by-step guide to managing library user entry and exit digitally. Replace manual paper registers, upload users, and start scanning in minutes.
Before You Start
What you need ready before setting up your desk.
LISWALA Account
An active verified Individual or Institutional user account.
Library Information
Library name, operating hours, and total seating capacity.
Library Users
List of patrons (students, faculty, or visitors) with unique IDs.
Card Barcodes
Printed barcodes on patron ID cards or manual ID lookup fallback.
Setup & Usage Journey
Register
Choose Individual or Institutional account
Verify
Confirm email to activate workspace
Set Up
Configure library info, capacity & hours
Add Users
Import patron records & barcodes
Scan
Barcode check-in & check-out at desk
Monitor
Live occupancy & visit reports
How to Register
The actual step-by-step registration and verification process.
Choose the Right Account Type
Navigate to registration (/register) and select your registration type:
Individual / Librarian
Designed for an individual librarian managing a single library, scanning patrons, and viewing visits and reports.
Institution / University
Designed for universities or organizations managing multiple libraries, branches, staff members, and granular role permissions.
Fill Information & Verify Email
Complete the required fields based on your selected account type:
- •Individual: Full Name, Email Address, and Secure Password.
- •Institution: Institution Name, Representative Full Name, Email, and Password.
- •Email Verification: Check your email inbox for the verification link sent by LISWALA and click it to activate your account.
- •Sign In: Log in at
/loginto access your workspace and open the User In-Out System.
Set Up Your Library
Configure the essential operational settings supported by the system.
Library Information
Set up your library profile including Library Name, official Code, contact person, campus address, and city.
Library Branches
For Institutional accounts, add multiple branches (Central Library, Reading Hall, Departmental Units) with isolated logs.
Staff & Permissions
Add staff accounts and grant specific roles: front-desk scanning (inout.scan), live monitoring, or reports.
Capacity & Hours
Define total seating capacity for live occupancy calculation, opening/closing hours, and automatic end-of-day exit behavior.
Add Library Users
Register patrons so they can be identified when their barcode is scanned.
Method 1: Single User Registration
Open User Management (/tools/library-inout/users) and click Add User. Fill in:
- Card / Barcode Number: The mandatory primary identifier printed on their ID card.
- Full Name: The patron's official display name.
- User Type: Student, Faculty, Staff, Scholar, or Visitor.
- Academic Info: Department, Course, Branch, Semester, and optional photo.
Method 2: Bulk Import via Excel / CSV
Open Bulk Upload (/tools/library-inout/upload) to onboard hundreds of users in seconds:
- Download Template: Grab the pre-formatted Excel/CSV sample sheet.
- Populate Records: Paste your patron card numbers, names, and user types.
- Upload & Validate: Upload the spreadsheet to create user records in one batch.
- Bulk Photo Matching: Optionally upload a ZIP containing photos named by Card Number (
ID.jpg).
Start Using the System
The simple daily desk workflow for managing patron visits.
Open Scanning Terminal
Open the entrance terminal (/tools/library-inout/activate). The scanner input is auto-focused and ready for continuous reading.
Scan Barcode (Check In)
Scan the patron's library card barcode using any USB or wireless handheld barcode scanner. The system logs the exact entry time and displays their photo.
Monitor Live Occupancy
Front-desk staff and librarians can view real-time headcount, seating capacity percentages, and active visitors on the Live Dashboard.
Scan Again (Check Out)
When the patron leaves, scanning their barcode again logs their exit timestamp, records total visit duration, and frees up library capacity.
Main Areas
Quick reference for the primary sections in your In-Out workspace.
Start Scanning
Full-screen desk terminal for barcode-based patron check-in and check-out.
Overview
Central dashboard showing daily visit statistics, peak hours, and quick actions.
Live Data
Real-time table of all patrons currently inside the library premises.
Reports
Filterable attendance logs, date-range summaries, and CSV export tools.
Library Branches
Manage multiple campus locations, departmental libraries, and branch configurations.
Library Staff
Manage circulation staff accounts, assigned library branches, and role permissions.
Invitations
Track pending staff invites and institutional membership onboarding requests.
Quick Help
Short answers for common front-desk situations.
Barcode not scanning?
Verify scanner USB/wireless connection, make sure the cursor is focused inside the scan input box, or manually type the ID number and press Enter.
User not found?
Register the patron in User Management (/users) using their exact card barcode, or verify if their card number has a typo.
User already inside?
Scanning an already-checked-in card automatically prompts or completes their Check-Out, calculating and recording their total session duration.
How do I check today's visits?
Open the In-Out Overview or Live Data screen to view total entries, current occupancy, and hourly patron influx in real time.
Where can I see reports?
Go to the Reports section (/reports) to filter visit history by date range, department, course, or patron category, and export CSV spreadsheets.
Ready to Start?
Launch the LISWALA User In-Out System and start managing attendance for your library today.
You May Also Need
Based on your current workflow, these tools might be helpful.